Building Real-Time Dashboards with WebSockets and React in 2026
In today’s fast-paced digital world, businesses rely more on real-time data to make informed decisions. As we step into 2026, the demand for interactive, instantaneous feedback through real-time dashboards has surged. These dashboards enable users to visualize data as it happens, unlocking insights that static reports simply cannot provide. In this article, we will explore how to build a real-time dashboard using WebSockets and React, integrating live data to create a dynamic user experience.
Understanding Real-Time Dashboards
What is a Real-Time Dashboard?
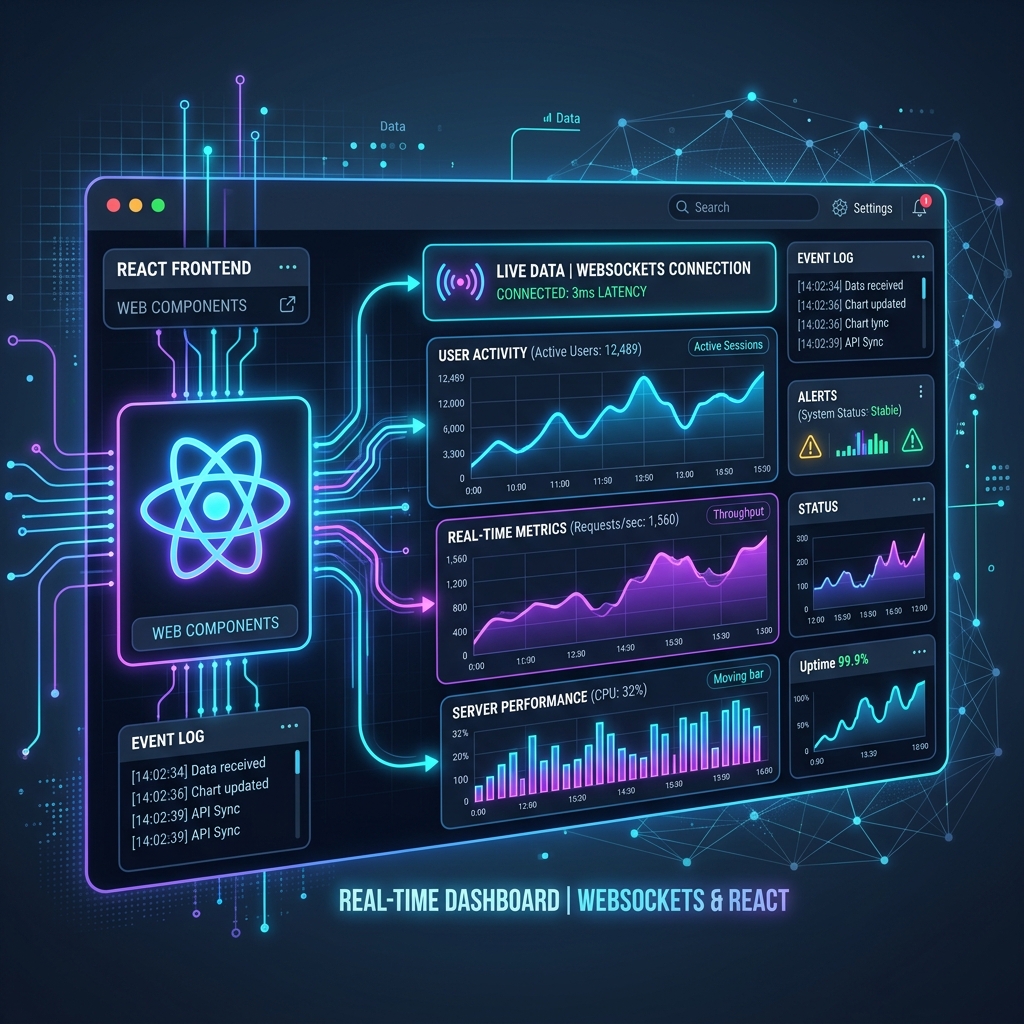
A real-time dashboard is an interactive interface that displays data as it changes, providing immediate insights into metrics, trends, and KPIs. Unlike traditional dashboards that refresh at set intervals, real-time dashboards leverage technologies like WebSockets to push updates instantly.
Importance of Real-Time Data
According to a 2025 industry report, 79% of businesses that utilize real-time analytics report improved decision-making capabilities. This statistic highlights the necessity of adopting technologies that facilitate immediate data visibility and responsiveness.
Setting Up the Project
Choosing the Tech Stack
To build our real-time dashboard, we will use:
- Frontend: React
- Backend: Node.js with Socket.io
- Database: MySQL
- Framework: Next.js
This combination allows us to create a responsive and efficient application that connects seamlessly to our backend services. For further information on these technologies, you can explore the blank" rel="noopener noreferrer" style="color: var(--primary); text-decoration: none; border-bottom: 1px dashed var(--primary);">official documentation for React and Socket.io.
Initializing the Project
First, we need to set up our Next.js project. Run the following command in your terminal:
npx create-next-app real-time-dashboard
cd real-time-dashboard
npm install socket.io-client
This initializes a new Next.js application and installs the Socket.io client library, which we will use to manage real-time communications.
Implementing the Backend with Socket.io
Setting Up the Server
We will create a simple Node.js server that utilizes Socket.io to handle real-time updates. Here’s how you can set it up:
1. Install Dependencies: In your server directory, run:
   npm init -y
   npm install express socket.io mysql
2. Create the Server: Create a file named server.js and use the following code:
const express = require('express');
const http = require('http');
const socketIo = require('socket.io');
const mysql = require('mysql');

const app = express();
const server = http.createServer(app);
const io = socketIo(server);

// MySQL connection setup
const db = mysql.createConnection({
  host: 'localhost',
  user: 'root',
  password: '',
  database: 'live_data'
});

// Connect to MySQL
db.connect(err => {
  if (err) throw err;
  console.log('MySQL Connected...');
});

// Socket.io connection
io.on('connection', socket => {
  console.log('New client connected');

  // Fetch live data
  setInterval(() => {
    db.query('SELECT * FROM metrics ORDER BY timestamp DESC LIMIT 1', (err, results) => {
      if (err) throw err;
      socket.emit('liveData', results[0]);
    });
  }, 1000);

  socket.on('disconnect', () => {
    console.log('Client disconnected');
  });
});

// Start server
server.listen(4000, () => {
  console.log('Server is running on http://localhost:4000');
});
This server connects to a MySQL database and emits live data to connected clients every second. The data can represent various metrics, such as user activity or system performance.
Creating the Frontend with React
Building the Dashboard Component
In your Next.js project, create a new component named Dashboard.js inside the components directory. Here’s a simple implementation:
import React, { useEffect, useState } from 'react';
import io from 'socket.io-client';

const socket = io('http://localhost:4000');

const Dashboard = () => {
  const [data, setData] = useState({});

  useEffect(() => {
    socket.on('liveData', newData => {
      setData(newData);
    });

    return () => {
      socket.off('liveData');
    };
  }, []);

  return (
    <div>
      <h1>Real-Time Dashboard</h1>
      <h2>Latest Metrics</h2>
      <pre>{JSON.stringify(data, null, 2)}</pre>
    </div>
  );
};

export default Dashboard;
Integrating the Dashboard into Next.js
Now, integrate this component into your main application. Open the pages/index.js file and replace its content with the following:
import Dashboard from '../components/Dashboard';

export default function Home() {
  return (
    <div>
      <Dashboard />
    </div>
  );
}
Using React Hooks for Live Data
In the Dashboard component, we leveraged React hooks to manage state and lifecycle events. The useEffect hook establishes a connection with the Socket.io server and listens for live data updates.
Styling the Dashboard
Adding CSS Styles
To enhance the user experience, you can add some basic styling. Create a new CSS file styles/Dashboard.module.css and include some styles:
h1 {
  color: #4CAF50;
}

h2 {
  color: #555;
}

pre {
  background: #f0f0f0;
  padding: 10px;
  border-radius: 5px;
}
Then, import this CSS module in your Dashboard.js:
import styles from '../styles/Dashboard.module.css';

// ...rest of the component
Deploying the Application
Hosting Options
Once your application is ready, you can deploy it using platforms such as Vercel for the frontend and Heroku for the backend. Here’s a quick overview of the deployment process:
1. Frontend (Next.js): Use Vercel to deploy your Next.js application. Simply link your GitHub repository and follow the prompts.
2. Backend (Node.js): To deploy your Node.js server, you can use Heroku. Install the Heroku CLI and run the following commands:
heroku create
git push heroku main
Configuring Database Access
For your MySQL database, consider using services like AWS RDS or DigitalOcean. Ensure that your database connection settings in the server.js file are updated accordingly.
Key Takeaways
- Real-time dashboards enhance data visibility and decision-making.
- Using WebSockets with Socket.io allows for efficient real-time data streaming.
- React hooks enable seamless state management and lifecycle handling for live data.
- Proper deployment of both frontend and backend ensures accessibility for users.
FAQ
What is a WebSocket?
A WebSocket is a protocol that allows for full-duplex communication channels over a single TCP connection, enabling real-time data exchange between clients and servers.
How does Socket.io improve WebSocket functionality?
Socket.io simplifies WebSocket implementation by providing fallbacks for browsers that do not support WebSockets and enhancing the connection management process.
What types of applications benefit from real-time dashboards?
Applications such as financial trading platforms, live sports scoreboards, and social media analytics tools significantly benefit from real-time dashboards.
Can I use other frameworks with WebSockets?
Yes, WebSockets can be integrated with various frameworks like Angular or Vue.js. The core concept remains the same, with variations in implementation.
How do I ensure data security in real-time applications?
Implement authentication and authorization checks, use HTTPS for secure communication, and validate data inputs to protect against vulnerabilities.
If you're interested in building your own real-time dashboard or enhancing an existing application, feel free to blank" rel="noopener noreferrer" style="color: var(--primary); text-decoration: none; border-bottom: 1px dashed var(--primary);">contact me for professional development services. I would love to help bring your vision to life! For more insights on web development, check out my other articles in the blog section.
Explore my blank" rel="noopener noreferrer" style="color: var(--primary); text-decoration: none; border-bottom: 1px dashed var(--primary);">projects to see how I have implemented similar solutions, and learn more about my skills and experience in the field.