Kubernetes for Web Developers: Deploy and Scale Your Apps Without DevOps in 2026
As a full-stack developer who’s spent years wrangling everything from PHP monoliths to modern Next.js microservices, I've seen firsthand how deployment and scaling can become the biggest bottleneck in a project's lifecycle. Remember the "works on my machine" era? We've come a long way since then, primarily thanks to containerization. But even Docker, while revolutionary, only solves part of the puzzle. What happens when your traffic surges, your services need to communicate seamlessly, or you need zero-downtime deployments for your critical applications? This is where Kubernetes steps in, and in 2026, it's no longer just for the dedicated DevOps elite.
The landscape of web development is evolving at an unprecedented pace. With AI-driven features becoming standard and user expectations for instant, reliable experiences higher than ever, the need for robust, scalable infrastructure has never been more critical. Traditional deployment methods often lead to developer burnout, operational overhead, and slower iteration cycles. Imagine a world where your carefully crafted Laravel API or performant React frontend can scale effortlessly, recover from failures autonomously, and deploy with confidence, all without needing a dedicated team of Kubernetes experts. This guide is for every web developer looking to unlock that future.
Forget the intimidating reputation. This comprehensive guide will demystify Kubernetes for web developers, equipping you with the practical knowledge to deploy and scale your applications effectively by 2026. We’ll cut through the jargon and focus on what truly matters for your daily development workflow, showing you how to leverage container orchestration to your advantage. By the end, you’ll understand how to bridge the gap from your local Docker setup to a production-ready K8s cluster, making you a more valuable and empowered developer.
The Evolution of Deployment: From VMs to Container Orchestration
Before we dive into the "how," let's briefly understand the "why." Our journey through deployment has been one of increasing abstraction and automation. Understanding this evolution helps contextualize why Kubernetes has become so indispensable.
The Problem with Traditional Deployments
In the early days, we deployed applications directly onto physical servers or, later, virtual machines (VMs). This approach, while functional, presented several challenges:
- Environmental Inconsistencies: "Works on my machine" was a real issue, as development, staging, and production environments often diverged.
- Resource Inefficiency: VMs typically ran a full operating system for each application, leading to significant overhead and underutilized resources.
- Scaling Headaches: Manually provisioning and configuring new VMs for scaling was time-consuming and error-prone.
- Dependency Hell: Managing conflicting dependencies across multiple applications on the same server was a nightmare.
Docker's Revolution: Containerization as the First Step
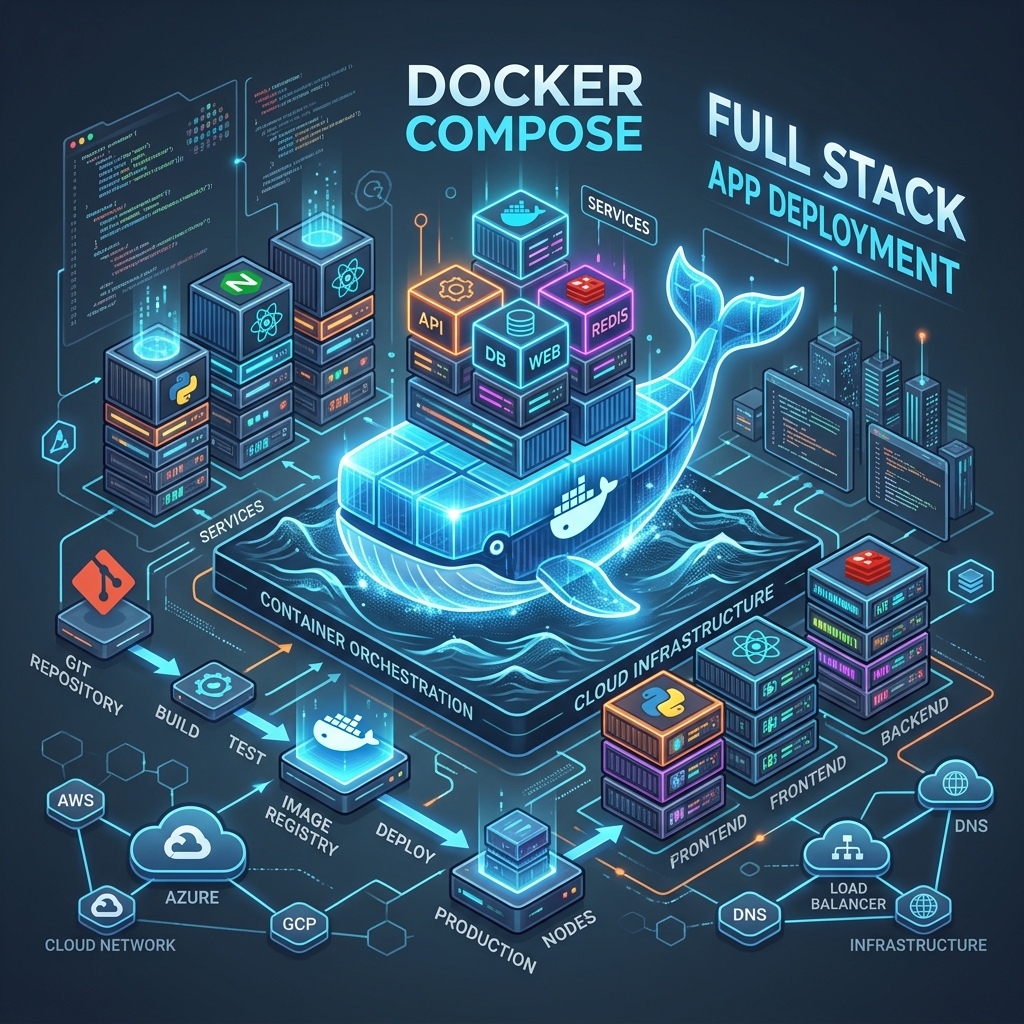
Docker fundamentally changed the game by introducing containers. A container packages an application and all its dependencies (libraries, frameworks, configuration files) into a single, isolated unit. This ensures consistency across environments and significantly reduces resource overhead compared to VMs.
Here's a simplified Dockerfile for a basic Next.js application:
# Stage 1: Build the Next.js application
FROM node:20-alpine AS builder

WORKDIR /app

COPY package.json yarn.lock ./
RUN yarn install --frozen-lockfile

COPY . .
RUN yarn build

# Stage 2: Run the Next.js application
FROM node:20-alpine

WORKDIR /app

COPY --from=builder /app/.next ./.next
COPY --from=builder /app/node_modules ./node_modules
COPY --from=builder /app/public ./public
COPY --from=builder /app/package.json ./package.json

EXPOSE 3000
CMD ["yarn", "start"]
While Docker solved many problems, managing a fleet of containers across multiple hosts still required significant manual effort. This led to the need for container orchestration.
Enter Kubernetes: The Orchestrator for Cloud Native Apps
Kubernetes (K8s) is an open-source system for automating deployment, scaling, and management of containerized applications. Think of it as an operating system for your data center, intelligently scheduling and running your containers across a cluster of machines. In 2025, over 70% of organizations using containers are leveraging Kubernetes or a managed K8s service, according to recent industry reports. For web developers, this means:
- Automated Scaling: K8s can automatically scale your application instances up or down based on traffic or CPU utilization.
- Self-Healing: If a container or node fails, K8s automatically restarts or reschedules your application on a healthy node.
- Load Balancing & Service Discovery: It provides built-in mechanisms to distribute traffic and allow services to find each other.
- Rolling Updates & Rollbacks: Deploy new versions of your application with zero downtime and easily revert if issues arise.
This robust set of features is why adopting Kubernetes for web developers 2026 is a strategic move, even if you’re not a dedicated DevOps engineer.
Core Kubernetes Concepts for Web Developers
You don't need to be a K8s guru to start. Understanding a few fundamental concepts will get you a long way. These are the building blocks you'll interact with most frequently.
Pods: The Smallest Deployable Unit
A Pod is the smallest and most basic deployable unit in Kubernetes. It represents a single instance of a running process in your cluster. While a Pod can contain multiple containers, they are typically tightly coupled applications that share resources (like a web server and a sidecar logging agent). For most web applications, a Pod will contain a single application container (e.g., your Next.js app, your Laravel API).
Key characteristics of Pods:
- Ephemeral: Pods are designed to be short-lived. If a Pod crashes, Kubernetes replaces it with a new one.
- Shared Network & Storage: Containers within a Pod share the same network namespace (localhost for inter-container communication) and can share storage volumes.
Deployments: Managing Your Application's Lifecycle
A Deployment is a higher-level abstraction that manages the desired state of your Pods. Instead of creating Pods directly, you define a Deployment, which then ensures that a specified number of identical Pods are running at all times. Deployments handle:
- Creating ReplicaSets: A ReplicaSet ensures a stable set of replica Pods running at any given time.
- Rolling Updates: Gradually replacing old Pods with new ones during a deployment, ensuring zero downtime.
- Rollbacks: Easily revert to a previous version of your application if a new deployment introduces issues.
Here's a basic Deployment manifest for a Next.js application:
apiVersion: apps/v1
kind: Deployment
metadata:
  name: my-nextjs-app
spec:
  replicas: 3 # Ensure 3 instances of your app are always running
  selector:
    matchLabels:
      app: nextjs-frontend
  template:
    metadata:
      labels:
        app: nextjs-frontend
    spec:
      containers:
      - name: nextjs-container
        image: your-docker-repo/my-nextjs-app:v1.0.0 # Your Docker image
        ports:
        - containerPort: 3000
        env:
        - name: API_URL
          value: "http://my-backend-service" # Example environment variable
Services: Exposing Your Applications
Pods are ephemeral and have dynamic IP addresses. How do other applications or external users consistently reach them? That’s where Services come in. A Service provides a stable network endpoint (a static IP address and DNS name) that routes traffic to a set of Pods.
Common Service types:
- ClusterIP: Exposes the Service on an internal IP in the cluster. Only reachable from within the cluster. Ideal for backend APIs.
- NodePort: Exposes the Service on a static port on each Node's IP. Makes your service accessible from outside the cluster via
NodeIP:NodePort. - LoadBalancer: Exposes the Service externally using a cloud provider's load balancer. This is the standard way to expose public-facing web applications.
- Ingress: A powerful API object that manages external access to the services in a cluster, typically HTTP/S. It provides routing rules, SSL termination, and more.
For a public-facing Next.js application, you'd typically use a LoadBalancer or Ingress. Here's a LoadBalancer Service example:
apiVersion: v1
kind: Service
metadata:
  name: my-nextjs-service
spec:
  selector:
    app: nextjs-frontend # Matches the labels in your Deployment
  ports:
    - protocol: TCP
      port: 80
      targetPort: 3000 # The port your container listens on
  type: LoadBalancer
Hands-On: Deploying a Simple Web Application to K8s
Let's get practical. We’ll walk through deploying a simple web application (imagine a Laravel API or a Next.js frontend) to a Kubernetes cluster. For simplicity, we’ll assume you have a local Kubernetes cluster (like Minikube or Docker Desktop's K8s) set up, or access to a managed service like GKE, EKS, or AKS.
Step 1: Containerize Your Application
First, ensure your application is containerized with Docker. If you have a Laravel application, your Dockerfile might look something like this:
# Use an official PHP image with Apache or Nginx
FROM php:8.2-fpm-alpine

# Install system dependencies and PHP extensions
RUN apk add --no-cache \
    nginx \
    git \
    build-base \
    autoconf \
    libzip-dev \
    libpng-dev \
    jpeg-dev \
    libwebp-dev \
    libjpeg-turbo-dev \
    freetype-dev \
    imagemagick-dev \
    # ... other dependencies for your app ...
    && docker-php-ext-install pdo_mysql opcache zip gd bcmath \
    && rm -rf /var/cache/apk/*

# Install Composer
COPY --from=composer/composer:latest-bin /composer /usr/bin/composer

WORKDIR /var/www/html

# Copy application code
COPY . .

# Install Composer dependencies
RUN composer install --no-dev --optimize-autoloader

# Set appropriate permissions
RUN chown -R www-data:www-data storage bootstrap/cache
RUN chmod -R 775 storage bootstrap/cache

# Configure Nginx
COPY nginx.conf /etc/nginx/conf.d/default.conf

# Expose port 80 for Nginx
EXPOSE 80

# Start Nginx and PHP-FPM
CMD ["sh", "-c", "nginx && php-fpm"]
Build and push your Docker image to a container registry (Docker Hub, AWS ECR, Google Container Registry, etc.):
docker build -t your-docker-repo/my-laravel-api:v1.0.0 .
docker push your-docker-repo/my-laravel-api:v1.0.0
Step 2: Define Your Deployment
Create a deployment.yaml file for your application. This will tell Kubernetes how to run your container.
# my-laravel-api-deployment.yaml
apiVersion: apps/v1
kind: Deployment
metadata:
  name: laravel-api
  labels:
    app: laravel-api
spec:
  replicas: 2 # Start with 2 instances for high availability
  selector:
    matchLabels:
      app: laravel-api
  template:
    metadata:
      labels:
        app: laravel-api
    spec:
      containers:
      - name: laravel-container
        image: your-docker-repo/my-laravel-api:v1.0.0
        ports:
        - containerPort: 80
        env:
        - name: APP_ENV
          value: "production"
        - name: DB_HOST
          value: "mysql-service" # Name of your MySQL Service
        # Add other environment variables for database credentials, etc.
        # Consider using Kubernetes Secrets for sensitive data
        # - name: DB_PASSWORD
        #   valueFrom:
        #     secretKeyRef:
        #       name: mysql-credentials
        #       key: password
Apply the deployment:
kubectl apply -f my-laravel-api-deployment.yaml
Step 3: Expose Your Application with a Service
Next, create a service.yaml file to expose your Laravel API within the cluster. For internal communication, a ClusterIP is usually sufficient. If this was a public-facing frontend, you'd use LoadBalancer.
# my-laravel-api-service.yaml
apiVersion: v1
kind: Service
metadata:
  name: laravel-api-service
spec:
  selector:
    app: laravel-api # Matches the labels in your Deployment
  ports:
    - protocol: TCP
      port: 80 # The port the service will listen on
      targetPort: 80 # The port your container listens on
  type: ClusterIP # Exposes the service internally
Apply the service:
kubectl apply -f my-laravel-api-service.yaml
Now, any other application within your Kubernetes cluster can reach your Laravel API at http://laravel-api-service. For external access, you'd configure an Ingress controller, which is a more advanced topic but essential for production.
Step 4: Database Considerations (MySQL Example)
While you can run stateful applications like MySQL directly in Kubernetes, for production environments, it's often recommended to use managed database services from your cloud provider (AWS RDS, Google Cloud SQL, Azure Database for MySQL). This offloads backup, replication, and patching responsibilities.
However, for development or specific use cases, you might deploy MySQL in K8s using a StatefulSet. Here's a simplified example (not production-ready without persistent storage configuration):
# mysql-deployment.yaml
apiVersion: apps/v1
kind: Deployment
metadata:
  name: mysql
spec:
  selector:
    matchLabels:
      app: mysql
  template:
    metadata:
      labels:
        app: mysql
    spec:
      containers:
      - name: mysql
        image: mysql:8.0
        env:
        - name: MYSQL_ROOT_PASSWORD
          valueFrom:
            secretKeyRef:
              name: mysql-credentials # Assuming you created this secret
              key: root_password
        - name: MYSQL_DATABASE
          value: "mydatabase"
        ports:
        - containerPort: 3306
---
# mysql-service.yaml
apiVersion: v1
kind: Service
metadata:
  name: mysql-service
spec:
  selector:
    app: mysql
  ports:
  - port: 3306
    targetPort: 3306
  type: ClusterIP
Remember to create the mysql-credentials secret first:
kubectl create secret generic mysql-credentials --from-literal=root_password='your_secure_password'
For more complex scenarios, especially involving persistent storage for databases, you'd delve into PersistentVolumes and PersistentVolumeClaims. Mastering these concepts significantly enhances your full-stack capabilities, making you a more versatile developer. You can find more detailed examples on official Kubernetes documentation.
Scaling and Management Without a Dedicated DevOps Team
The real power of Kubernetes for web developers lies in its ability to automate scaling and simplify management, reducing the need for constant DevOps intervention.
Horizontal Pod Autoscaler (HPA)
The Horizontal Pod Autoscaler (HPA) automatically scales the number of Pods in a Deployment or ReplicaSet based on observed CPU utilization or custom metrics. This is a game-changer for handling fluctuating traffic.
Example HPA configuration:
apiVersion: autoscaling/v2
kind: HorizontalPodAutoscaler
metadata:
  name: laravel-api-hpa
spec:
  scaleTargetRef:
    apiVersion: apps/v1
    kind: Deployment
    name: laravel-api # Target your Laravel API deployment
  minReplicas: 2
  maxReplicas: 10
  metrics:
  - type: Resource
    resource:
      name: cpu
      target:
        type: Utilization
        averageUtilization: 70 # Scale up if average CPU utilization exceeds 70%
Apply with kubectl apply -f laravel-api-hpa.yaml. This ensures your Laravel API scales dynamically, maintaining performance even during peak loads.
Monitoring and Logging: Your Eyes on the Cluster
Even without a dedicated DevOps team, you need visibility into your applications. Kubernetes integrates well with various monitoring and logging solutions:
- Prometheus & Grafana: A popular open-source stack for metrics collection and visualization.
- Elastic Stack (ELK/ECK): For centralized logging and analysis (Elasticsearch, Logstash, Kibana).
- Cloud Provider Solutions: Google Cloud Logging/Monitoring, AWS CloudWatch, Azure Monitor offer managed alternatives.
Setting up basic monitoring for CPU, memory, and network usage of your Pods is crucial. Tools like kubectl top pod can give you quick insights, but a centralized solution is vital for production systems.
CI/CD Integration: Automating Your Deployments
The ultimate goal for web developers leveraging Kubernetes is to integrate it seamlessly into a Continuous Integration/Continuous Deployment (CI/CD) pipeline. Tools like GitHub Actions, GitLab CI/CD, Jenkins, or Argo CD can automate the entire process:
1. Developer pushes code to Git.
2.